

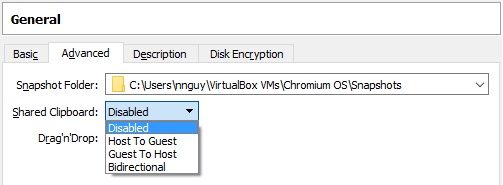
Choose Guest to Host to enable the ability to copy text from your VM to your Host machine
Choose Bidirectional to be able to copy text both ways.
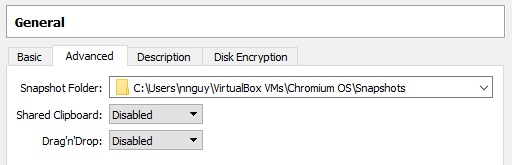
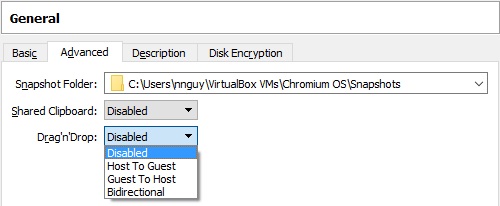
Drag'n'Drop is the same as clipboard except one this is used for file transfer between host and your VM machine.
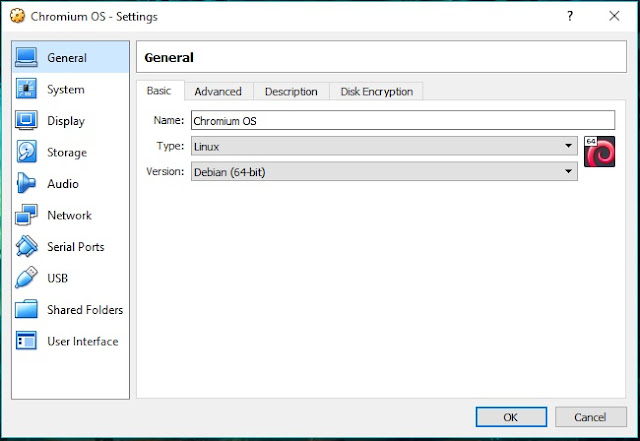
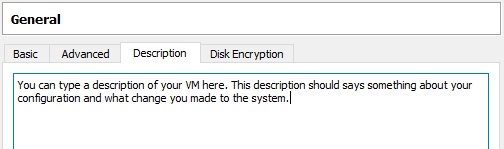
The Description tab is for you to type in a note that will remind you of what changes you made to your VM.
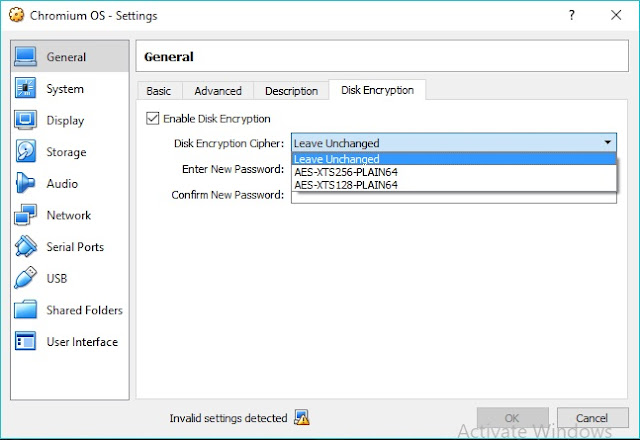
The Disk Encryption tab allow you to encrypt your VM virtual hard disk. There are two type of Encryption. The first is 256 bit and the second is 128. If you do decided to use this option I recommend using the 256 bit. Also note that to enable this option you will need to install the VirtualBox Extension Pack which can be downloaded HERE
3. The System tab

Execution Cap - This setting limits the amount of time a host CPU spends to emulate a virtual CPU. The default setting is 100% meaning that there is no limitation. A setting of 50% implies a single virtual CPU can use up to 50% of a single host CPU.
Enable PAE/NX - Check this option will allow you to virtualize a 32bit OS while having more then 4GB of memory.

Paravirtualization - a virtualization technique that presents to virtual machines a software interface, which is similar yet not identical to the underlying hardware-software interface.
The intent of the modified interface is to reduce the portion of the guest's execution time spent performing operations which are substantially more difficult to run in a virtual environment compared to a non-virtualized environment. The paravirtualization provides specially defined 'hooks' to allow the guest(s) and host to request and acknowledge these tasks, which would otherwise be executed in the virtual domain (where execution performance is worse). A successful paravirtualized platform may allow the virtual machine monitor (VMM) to be simpler (by relocating execution of critical tasks from the virtual domain to the host domain), and/or reduce the overall performance degradation of machine-execution inside the virtual-guest.
Paravirtualization requires the guest operating system to be explicitly ported for the para-API — a conventional OS distribution that is not paravirtualization-aware cannot be run on top of a paravirtualizing VMM. However, even in cases where the operating system cannot be modified, components may be available that enable many of the significant performance advantages of paravirtualization. For example, the Xen Windows GPLPV project provides a kit of paravirtualization-aware device drivers, licensed under the terms of the GPL, that is intended to be installed into a Microsoft Windows virtual-guest running on the Xen hypervisor.

Enable Nested Paging - If nested paging is enabled, the VirtualBox hypervisor can also use large pages to reduce Translation lookaside buffer (TLB) usage and overhead. This can yield a performance improvement of up to 5%
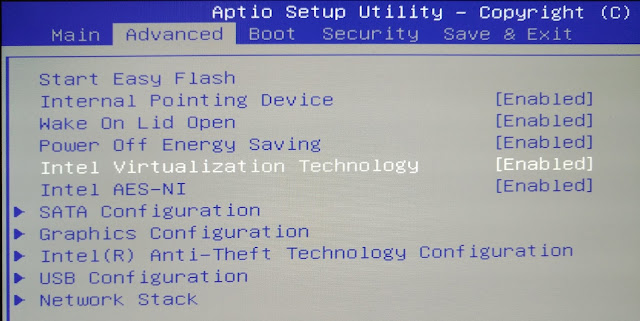
NOTE: When creating a VM machine, sometime you will have an error like the one I have below. This is because Virtualization Technology is not enabled in the BIOS settings.

To enable fix the error, restart your host machine, go into the BIOS setting and look for Intel Virtualization Technology and enable it.
4. Display - On this tab you there are three sub-tabs. The first one is the screen tab, here you can adjust the amount of video memory you want to dedicate to your VM. If you have more than one monitor you can set your VM to have more then one monitor. For the scale factor, I recommend leaving it at 100 percent because anything bigger than that you will not be able to see everything on the screen.
Enabling 3D acceleration and 2D video acceleration in VirtualBox machine settings enables VirtualBox to virtualize the host's acceleration capabilities and expose them to the guest through a virtual graphics adapter

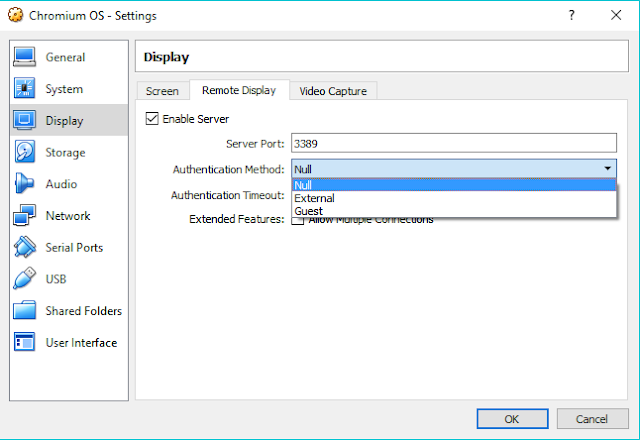
Multiple Connection is optional but not required. If this option is enabled, multiple people can connect to your VM simultaneously

6. Video Capture - This tab is for you to record your VM and save the recording into a video file. You can change the saved path, frame size, frame rate as well as the quality of the video.
The Extended Features for recording audio if you need audio in your recording and the screen is just for recording one or more screen at the same time.

7. Storage - This is where you can mount your ISO file and set different types of controller. I would just leave the type as default which is PIIX3.
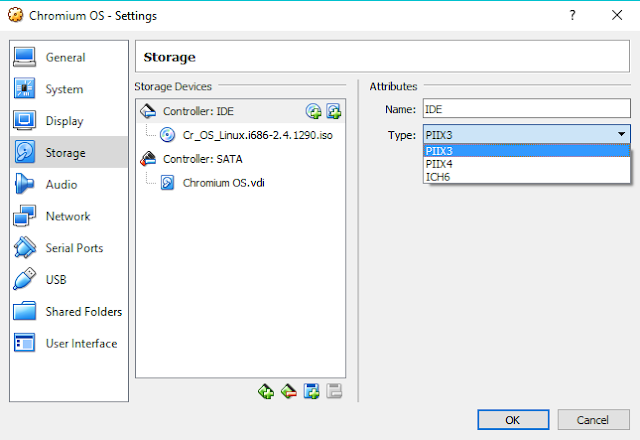
Use Host I/O Cache - Turn on this option will allow you to run your VM faster and you can also install things faster. The disadvantage of using this option is that it might slow down your host machine because disk image files are large so caching them can quickly use up the entire host OS cache when you are using your VM and your host at the same time.

8. Audio - This tab allows you to enable audio for your VM. To enable audio, check the Enable Audio option on the top left corner.
Host Audio Driver - Tell VM to use the audio driver from the host machine.
Audio Controller - Tells VM to use the type of audio controller.
Extended Features - Enable Audio Output to allow sound to play through the speaker. Enable Audio Input to allow the microphone to be used on the VM.

9. Network - This tab allows you to configure network adapter for your VM.
You can add up to 4 network adapter for a single VM by using the Adapter 1, 2, 3 and 4 tabs.

To enable network on your VM check the box Enable Network Adapter
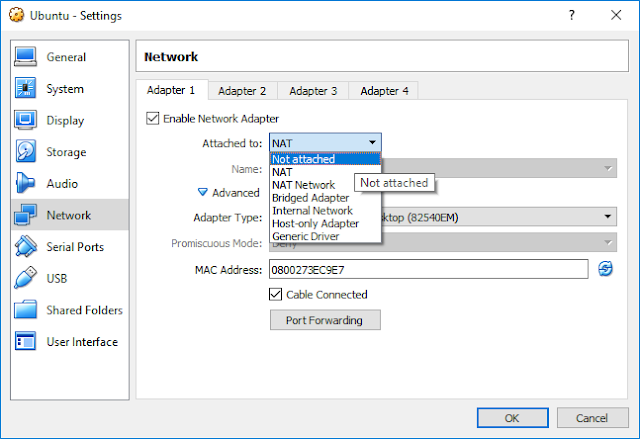
Not attached - In this mode, VirtualBox reports to the guest that a network card is present, but that there is no connection -- as if no Ethernet cable was plugged into the card. This way it is possible to "pull" the virtual Ethernet cable and disrupt the connection, which can be useful to inform a guest operating system that no network connection is available and enforce a reconfiguration.
Network Address Translation (NAT) - If all you want is to browse the Web, download files and view e-mail inside the guest, then this default mode should be sufficient for you, and you can safely skip the rest of this section. Please note that there are certain limitations when using Windows file sharing (see Section 6.3.3, “NAT limitations” for details).
NAT Network - The NAT network is a new NAT flavor introduced in VirtualBox 4.3. See 6.4 for details.
Bridged networking - This is for more advanced networking needs such as network simulations and running servers in a guest. When enabled, VirtualBox connects to one of your installed network cards and exchanges network packets directly, circumventing your host operating system's network stack.
Internal networking - This can be used to create a different kind of software-based network which is visible to selected virtual machines, but not to applications running on the host or to the outside world.
Host-only networking - This can be used to create a network containing the host and a set of virtual machines, without the need for the host's physical network interface. Instead, a virtual network interface (similar to a loopback interface) is created on the host, providing connectivity among virtual machines and the host.
Generic Driver - Rarely used modes share the same generic network interface, by allowing the user to select a driver which can be included with VirtualBox or be distributed in an extension pack.
At the moment there are potentially two available sub-modes:
UDP Tunnel - This can be used to interconnect virtual machines running on different hosts directly, easily and transparently, over existing network infrastructure.
VDE (Virtual Distributed Ethernet) networking - This option can be used to connect to a Virtual Distributed Ethernet switch on a Linux or a FreeBSD host. At the moment this needs compiling VirtualBox from sources, as the Oracle packages do not include it.

Adapter Type - You can select your preferred network adapter to use with your VM here.
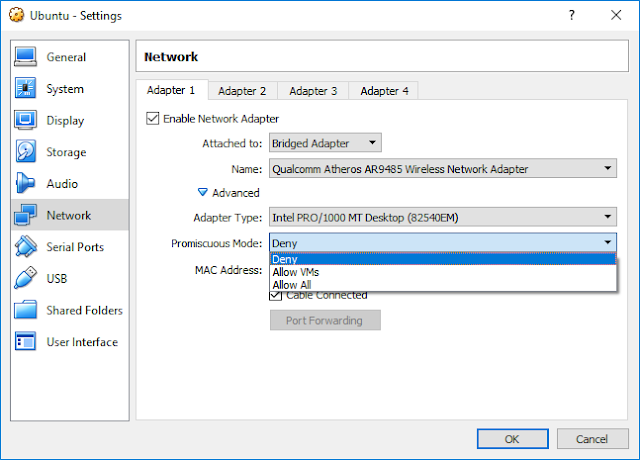
Promiscuous mode is a security policy which can be defined at the virtual switch or portgroup level in vSphere ESX/ESXi. A virtual machine, Service Console or VMkernel network interface in a portgroup which allows the use of promiscuous mode can see all network traffic traversing the virtual switch.
By default, a guest operating system's virtual network adapter only receives frames that are meant for it. Placing the guest's network adapter in promiscuous mode causes it to receive all frames passed on the virtual switch that are allowed under the VLAN policy for the associated portgroup. This can be useful for intrusion detection monitoring or if a sniffer needs to analyze all traffic on the network segment.
Allow VMs means that you will only see traffic between virtual machines.
Allow All will show you traffic from the physical machine as well as all traffic on the network.
MAC Address allows you to change the MAC address of your VM.
Cable Connected - This option must be checked for Bridged Adapter to work
Port Forwarding will only work under the NAT option. Which allows you to open a port for your VM machine and allow it to be accessible from the Internet.


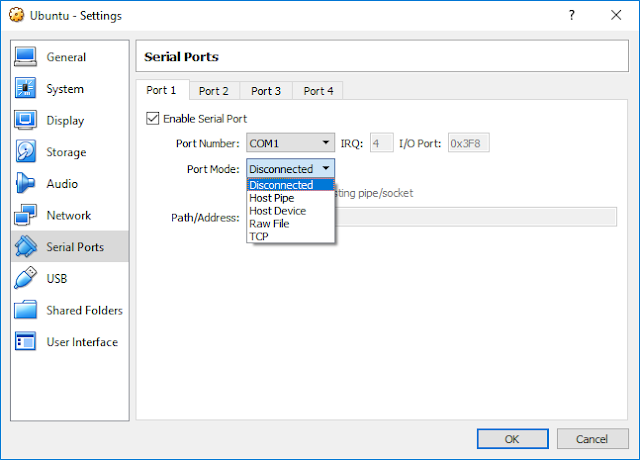
10. Serial Ports - You can connect any serial port device to your VM from your host machine by enabling this option.
If you are using serial device make sure to select Host Device and then connect the device to the serial port on your host and your VM should detect the device.
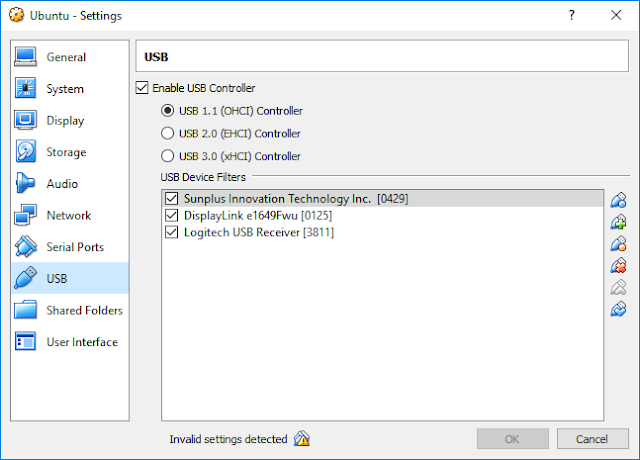
11. USB - USB allows you to connect any USB device to your host and it will be recognized by the VM. This is useful when connecting a device such as a flash drive to transfer data. There are several USB types 1, 2 and 3 and they all depend on whether your host machine support that type in order for your VM to use it. You can also use the button to the right to add or remove some of the USB devices you would like your VM to recognized.

Click on the drop-down arrow next to Folder Path and select Other

Select a folder or directory to share and click the Select Folder button

Once you clicked on the Select Folder button you will be taken back to the Add Share screen. Here you can choose how the folder will be shared. Check Read-only to allow read-only and Auto-mount to mount the folder automatically every time you turn on your VM. Click on OK

Once you clicked on OK you will see the folder that is being shared on the Shared Folders screen.

13. User Interface - This last tab is the user interface for your VirtualBox. You can set up how you want the interface to look by enabling and disabling option you want to access or not to access.


0 comments:
Post a Comment