
2. Scroll down and locate the link that says Manage Buttons under Seller Tools
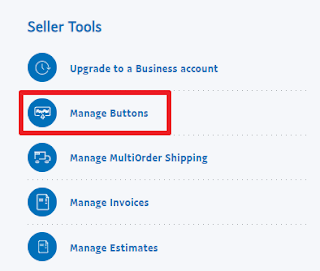
3. Click on Manage Buttons
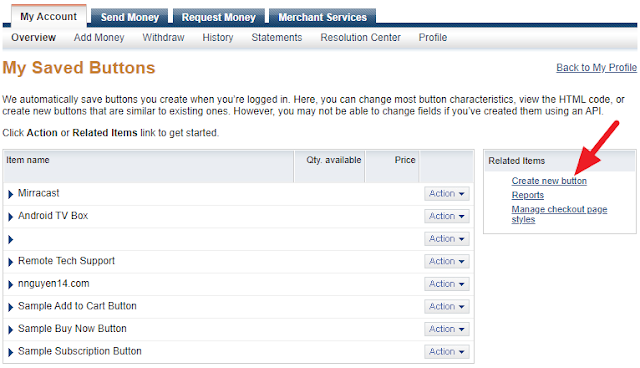
4. Click Create new button on the right side in the Related Items box.
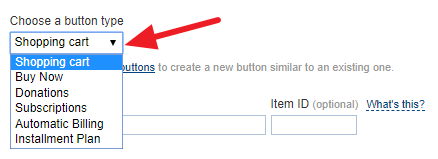
5. Click on the drop down arrow and select Shopping cart.
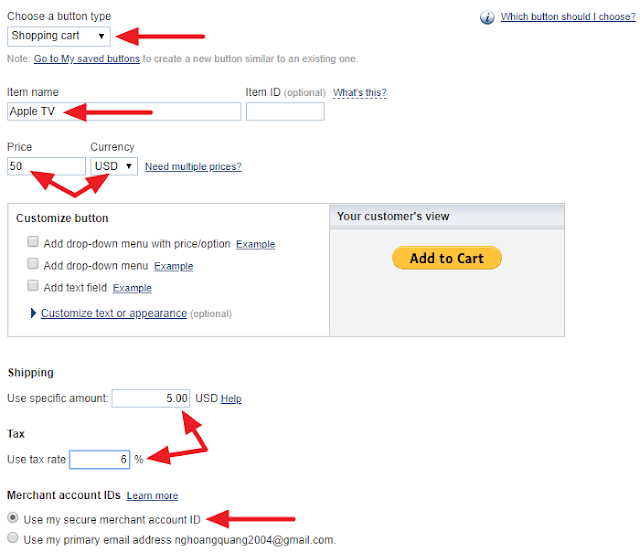
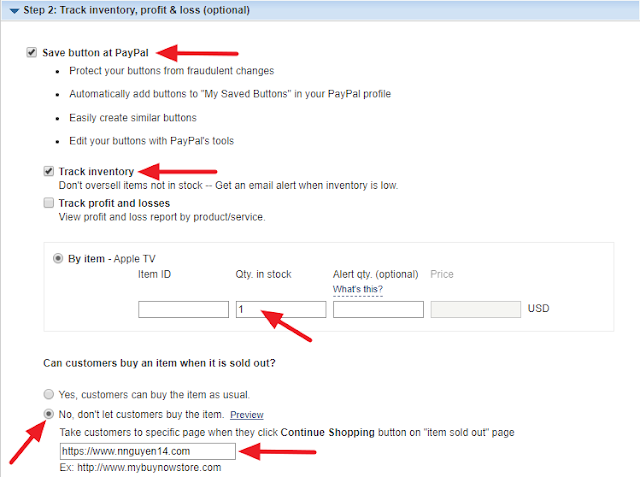
7. Click on Step 2 and follow the on screen instruction. See below for example.
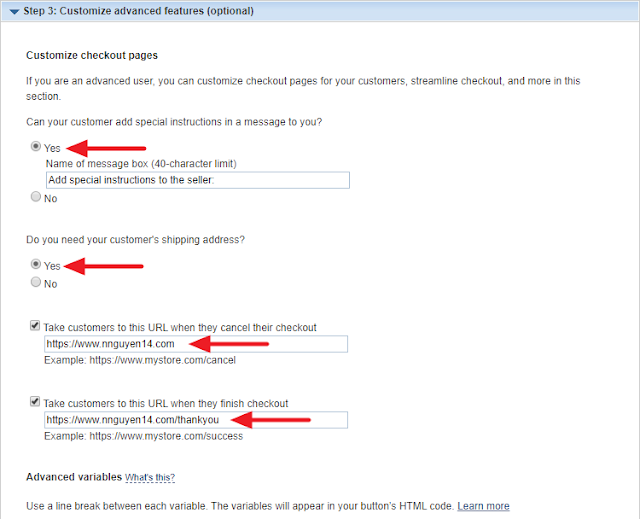
8. Click on Step 3 and follow the example below.
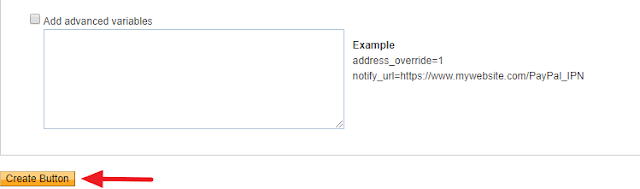
9. Click on Create Button
10. Click Select Code button
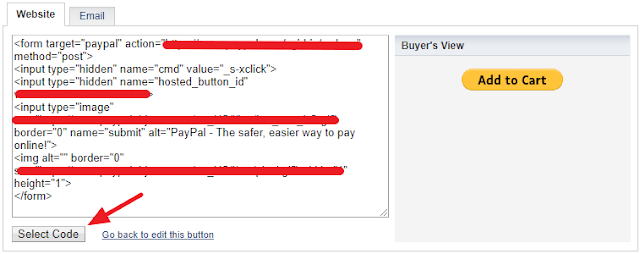
11. Right click inside the code box and select Copy.

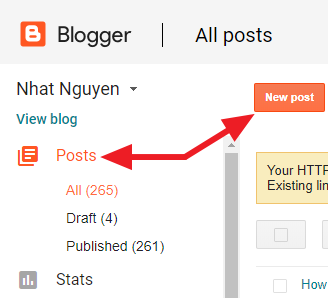
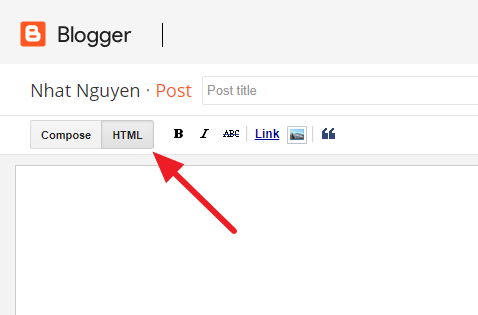
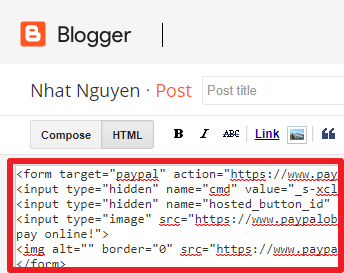
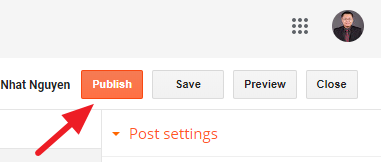
12. Go to blogger.com, log in, create a new post and add the HTML code to the page to create the Add to Cart button. See examples below.
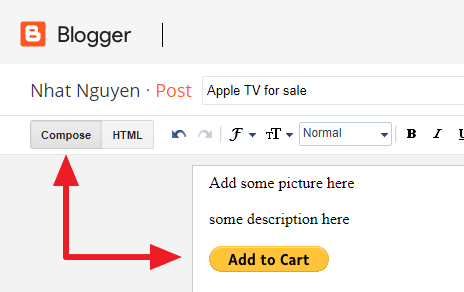
Once you are down pasting the code, click Compose button and you will be able to see your Add to Cart button. Now add some picture for the product you want to sell and a good description.
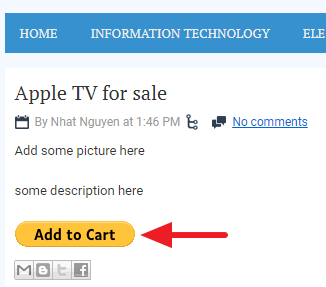
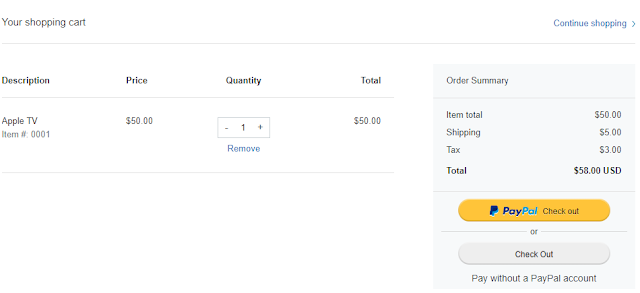
Below is what the customer will see once they clicked Add to Cart button. They have the option of using PayPal to check out or Check out without PayPal.

0 comments:
Post a Comment