
Note: You can also use this method to install Ubuntu as well and it will work just as great.
1. Click Start, type in Control Panel and click on it

2. Look for Program and Features and open it

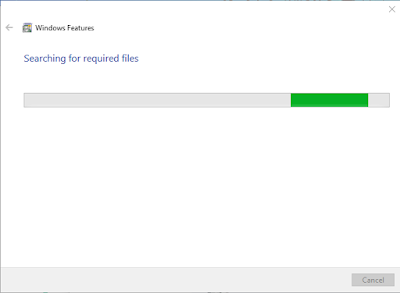
3. Locate the link that says Turn Windows features on or off and click on it.


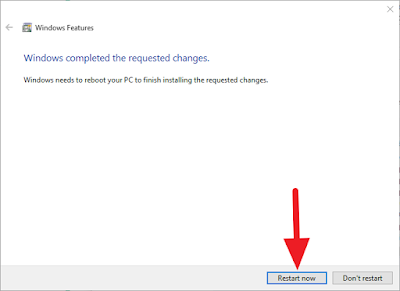
5. Now let Windows enable the feature and restart your computer by clicking on Restart now
6. Now go into the Microsoft Store and search for Kali Linux and install it


8. Now click on the Kali Linux app to open the terminal.

9. From here you can pretty much install or run anything you want and it will be exactly like you are using Kali Linux.
If your version of Windows 10 for some reason does not have the Windows Subsystem for Linux feature, you will have to install the feature using Powershell. To do this click on Start, type in Powershell and run Powershell with Administrator. Inside Powershell type in Enable-WindowsOptionalFeature -Online -FeatureName Microsoft-Windows-Subsystem-Linux and press Enter to install the feature. After it is done installing the WSL feature you will need to restart your computer. Now you can go inside Program and Features to enable it.
Note that not all versions of Windows 10 will allow you to install WSL, so if you get an error meaning your version of Windows 10 might not be compatible.

0 comments:
Post a Comment